
User Access and Granting Permissions
Contents
Getting to the User Access area of Helios
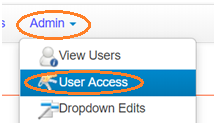
Once you're logged in, hover over the Admin menu and then select User Access from the submenu. Note: this page is available only to users who have admin access in Helios.
Creating and setting user access and permissions for new/existing users
Creating a new user
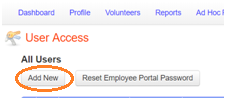
To create a new user, under All Users, select Add New.
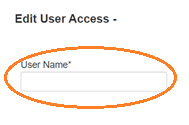
Enter a username in the User Name field.
Selecting an existing user
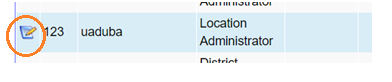
If you want to edit an existing user instead of creating a new user, find the existing user on the left column, and click the edit icon (looks like a pencil and a notepad).
Password settings
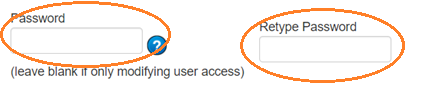
For new users, you must set a password. For existing users, you can leave the password fields blank unless you want to reset the user's password.
To set (new user) or reset (existing user) the password, type a password in the Password field and then retype that same password in the Retype Password field.

If you hover over the blue question mark, you can see more details about acceptable password criteria.
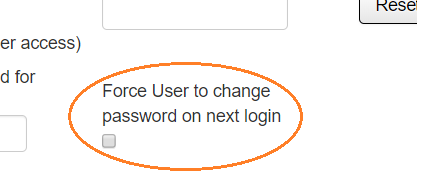
If you would like the user to have to change the password upon next login, check the box below Force User to change password on next login.
Other account options

Optionally, you can supply an Email address for the employee and/or Link to Employee Profile. If you want to link to the employee profile, just start typing the employee's name, and you should see an autocomplete that will allow you to easily fill in the appropriate name and employee ID.
Access settings
 For general access roles, you have the option to select a role from Pre-Defined Roles, define Custom Access
yourself, or Copy from Another User. You should select
only one of those three options.
For general access roles, you have the option to select a role from Pre-Defined Roles, define Custom Access
yourself, or Copy from Another User. You should select
only one of those three options.
Document Type Access and Other Restrictions are optional.
Pre-Defined Roles
If you're using pre-defined roles, click the Pre-Defined Roles tab if it isn't already selected.
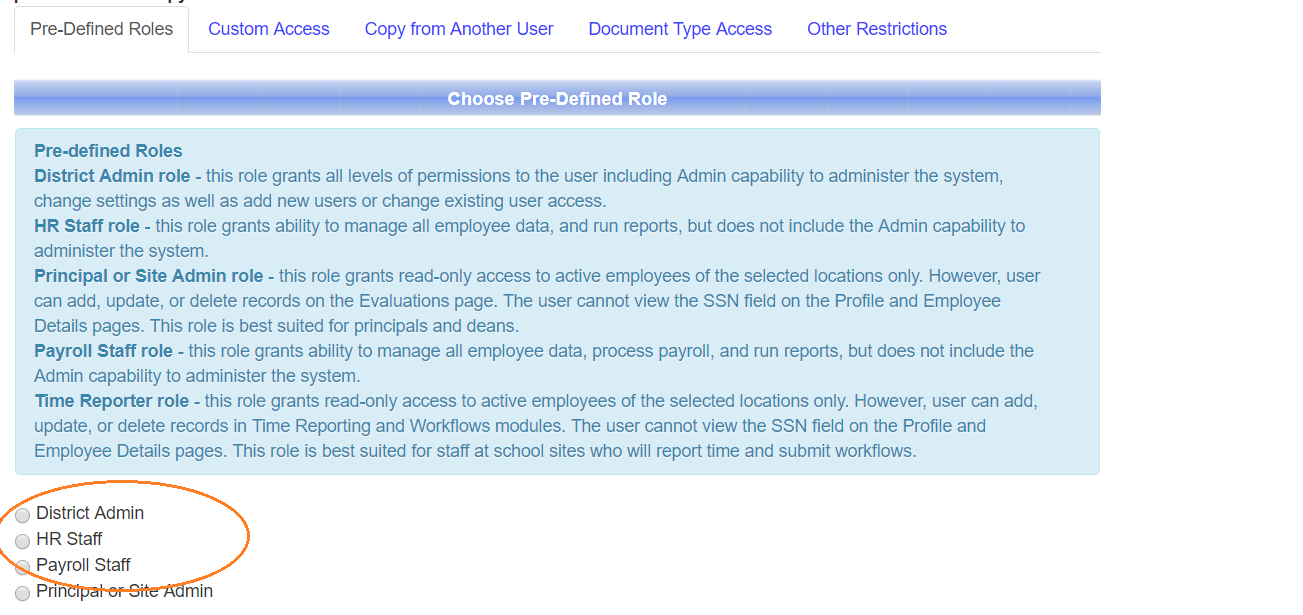 The top three selections (District Admin, HR Staff, and Payroll Staff) are
completely pre-defined roles.
The top three selections (District Admin, HR Staff, and Payroll Staff) are
completely pre-defined roles.
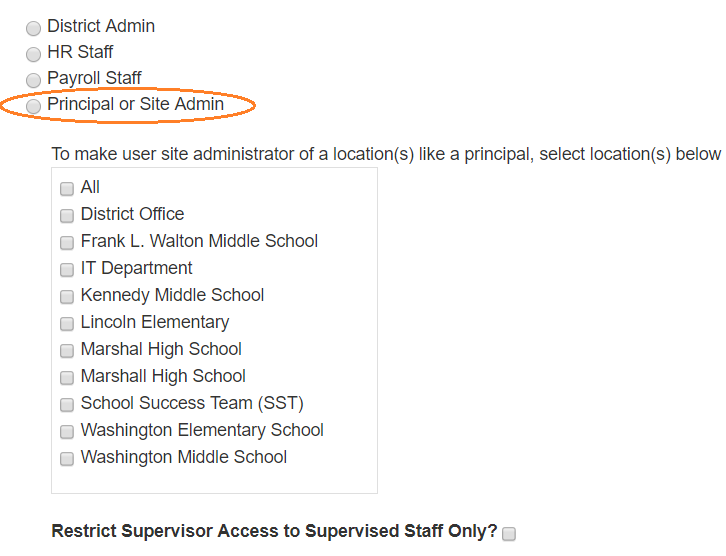
If you select Principal or Site Admin, you must also select locations for the user-either All for all locations, or checking all the checkboxes that apply for individual locations.
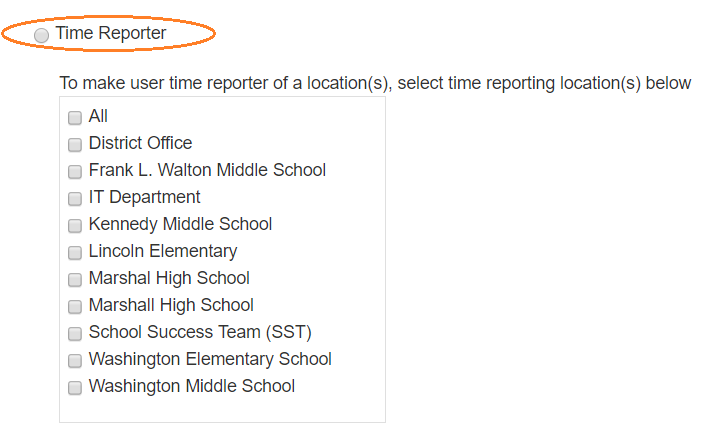
Likewise, if you select Time Reporter, you must also select locations for the user-either All for all locations, or checking all the checkboxes that apply for individual locations.
Custom Access
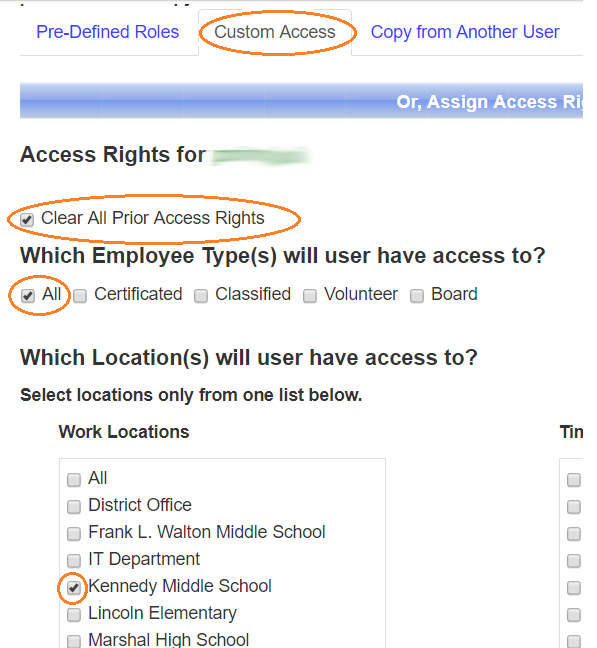
If you want to set custom access, click the Custom Access tab.

For a new user, you do not need to check Clear All Prior Access Rights, but if you're editing an existing user, you should check that checkbox.
Make sure to check appropriate checkboxes under Which Employee Type(s) will user have access to?
Under Which Location(s) will use have access to?, select locations either from Work Locations or from Time Reporting Locations.
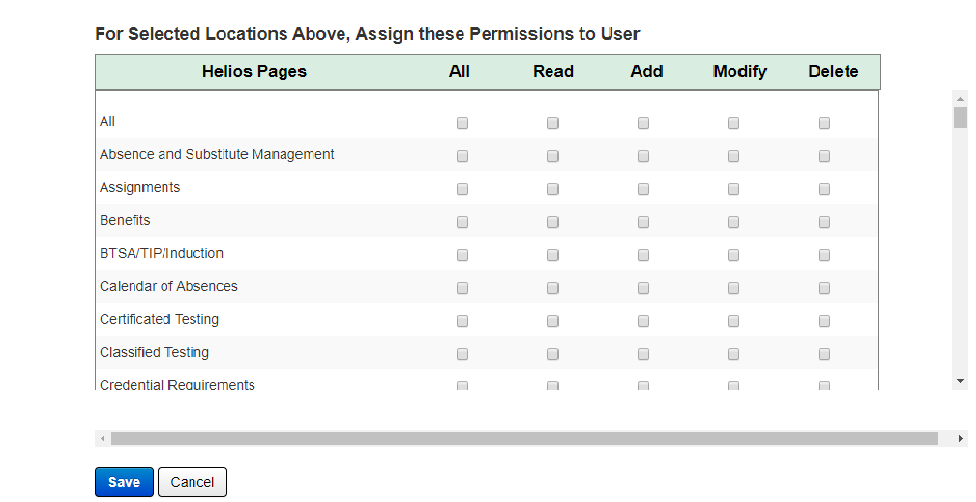
Then scroll down and check appropriate boxes under For Selected Locations Above, Assign these Permissions to User .
Time-saving tip
If you don't want to check all of these boxes from scratch, you can optionally set the user to a pre-defined role, save, re-select the user, come back to Custom Access, check the Clear All Prior Access Rights checkbox, and then simply modify the checkboxes under For Selected Locations Above, Assign these Permissions to User .
Copy from Another User
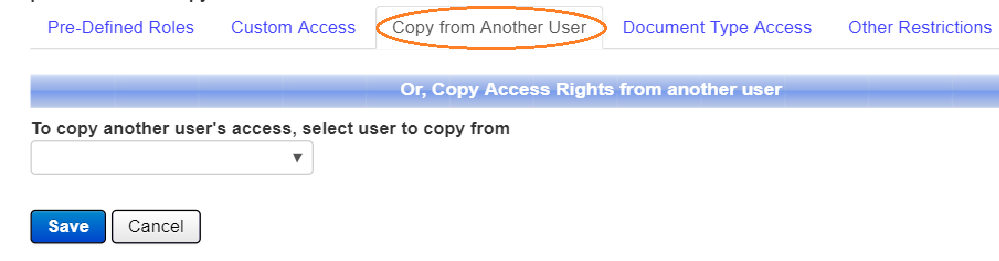
If you want to copy user access from another existing user, click the Copy from Another User tab, and then select a user from the drop-down menu under To copy another user's access, select user to copy from.
Optional additional permissions
The only thing that's required for user access permissions is either one of the three options above (Pre-Defined Roles, Custom Access , or Copy from Another User). Once you've selected one of those three, you can also additionally specify document type access and other restrictions.
Document Type Access

If you want to configure document type access, click the Document Type Access tab, and then check any specific document types and/or form types you want to allow this user access to or you want to exclude this user from.
Other Restrictions

If you want to put in other restrictions, click the Other Restrictions tab, and then check anything job categories or job classes you want this user restricted from.
Saving changes
When you're done configuring this user, scroll down, and click the Save button. For a new user, this will create the user. For an existing user, this will save changes for that user.
Verifying set permissions

After you've saved, if you want to see what permissions got set, select the user from the column on the left.
Then scroll down.
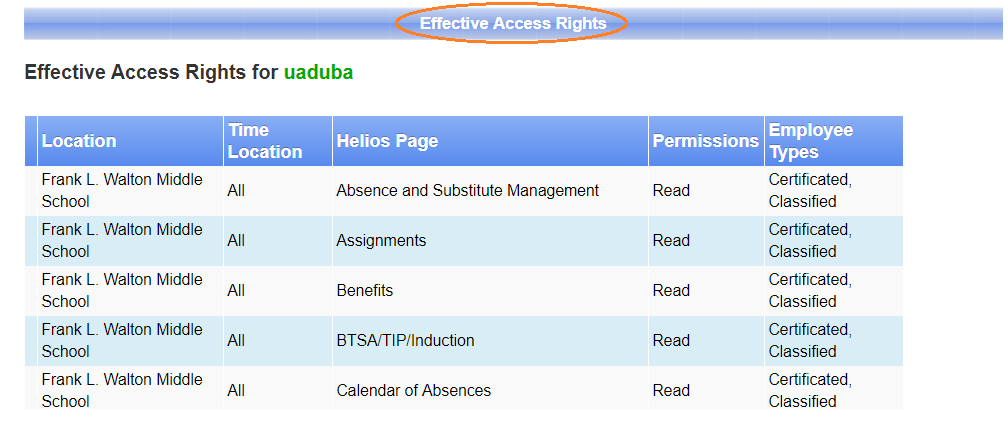
Under Effective Access Rights, you should see a full list of the access rights for the user you either newly created or edited.
Tip: copy access from another user and change location
Sometimes you may want to create a new user based on an existing user's permissions but at another location (same role at a different school, for example).
Add the new user/copy from another user
To do so, click Add New, fill out theUser Name, Password, Retype Password, and other fields if needed.
Then, click Copy from Another User. In the To copy another user's access, select user to copy from drop-down menu, select the user whose permissions you want to copy, and click the Save button underneath the name.
Edit the newly created user
Now that the user's been created, click the edit (pencil on notepad) icon next to the username.
Change the location
select the Custom Access tab, check Clear All Prior Access Rights, check All under Which Employee Type(s) will user have access to?, and under Work Locations, check the new location.
Finally, click Save.