Running and Filtering Reports
Contents
Helios has both built-in standard reports and also user-defined reports (refer to the Ad Hoc Reporting documentation for more details on how to create your own user-defined report).
Searching for a report to run
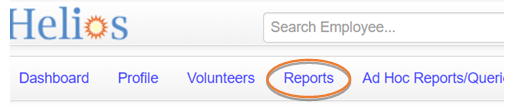
To run a report (whether built-in or user-defined), log into the admin side of Helios.
Then click on Reports.
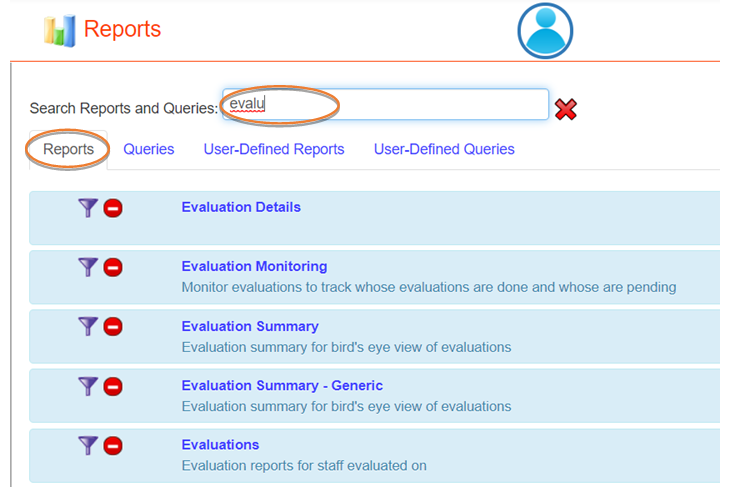
Searching for a built-in report
If you're searching for a built-in report, make sure the Reports tab is selected (it's the default tab, so it may already be selected), and then, in Search Reports and Queries, type in a partial or full name search for the report you want to filter for.
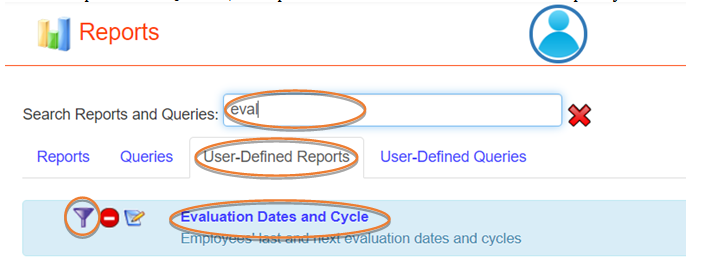
Searching for a user-defined report
Likewise, for user-defined reports, you can select the User-Defined Reports tab, and then, in Search Reports and Queries, do a partial or full name search for the report you want to filter for.
Once you've found the report (built-in or user-defined) you want to run, you can click on the (blue link) name of the report to run it, or you can click the filter button to add additional filters to the report.
Choosing filtering criteria
There are three steps in the Filter Criteria process. Each step will be explained below. You do not need to select filter criteria, but it will often help get you the actual data you are looking for.
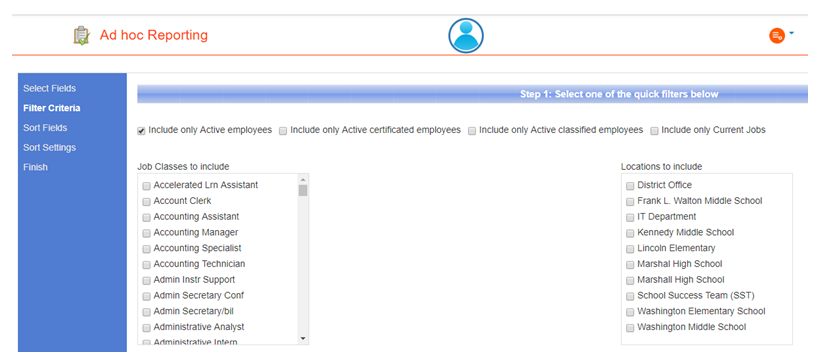
The first step in filter criteria you will see is a selection of "quick" filters. These are broad filters you can use to extract the data you need. In our example, we are selecting only active employees. Since we have not selected specific job classes or locations, we will get all job classes and locations. If you need to refine your data, select one of these other filters. Note: you can select more than one filter in this first step.
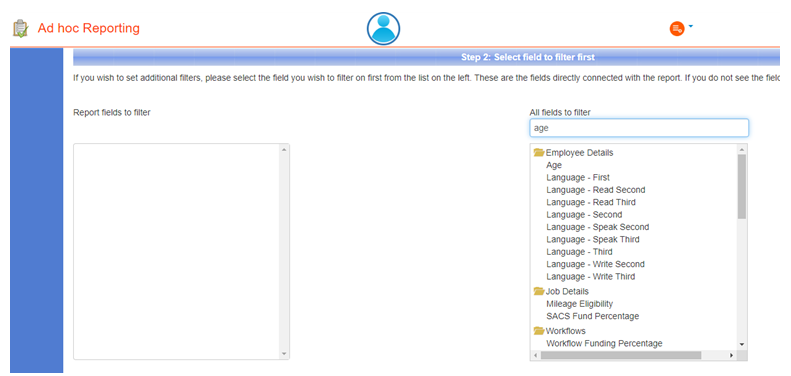
The second step allows you to add additional field filtering criteria to your report. You will notice Report fields to filter is blank-this is because you are building your own report. This will show data only if you are using a Helios pre-built report. If you select an additional field, it will appear in step three of filtering. We have selected age for this example.

Step three of filtering is where you will see all the fields you have selected from step two. For each field selected in step two, you must select filtering criteria. The drop-down provides a list of function options. Since we have selected Age, you will see that it appears in the step three section.

For the selected field, in this example, we choseis greater than and entered 30 into the Value field. Once you press Add Criteria, it will appear below Selected Report Filter Criteria. Repeat this process for as many fields you want to filter on.

Should you want to remove criteria in step three, press the red ("do not enter") circle to the left of the criteria.
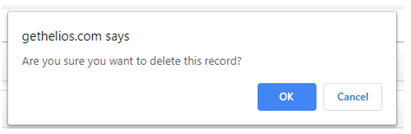
When you try to remove filter criteria, you will be prompted to confirm removal. To remove, press OK. To cancel removing the criteria, press Cancel.
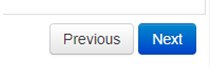
Press Next if you are done with filters. You may press Previous to go back to the previous step.
Seeing a Report and Report Options
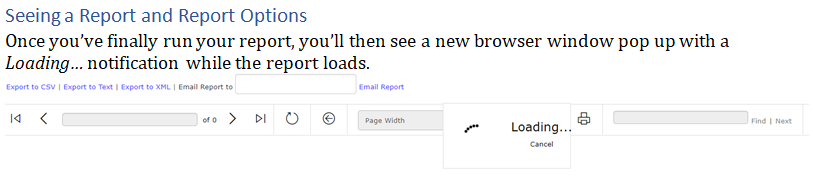
Once you've finally run your report, you'll then see a new browser window pop up with a Loading… notification while the report loads.
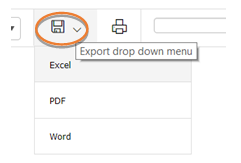
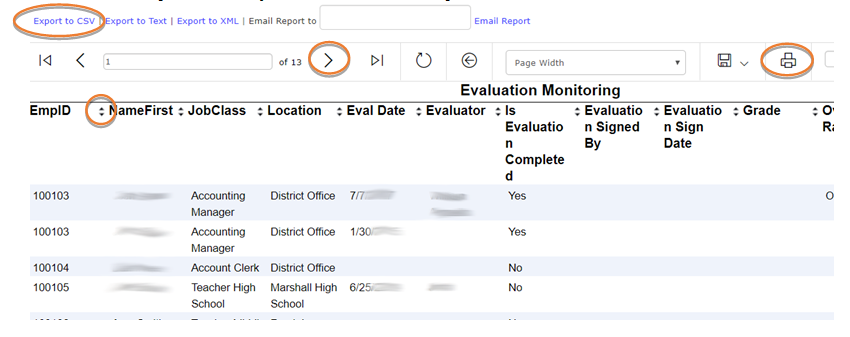
Once the report is loaded, here are only some of the things you can do: click the up-down sort tabs to sort by a particular column, click through the right and left arrows to scroll through the pages of the results, click Export to CSV to export the results to an Excel-compatible file, or click the print icon to create a print-friendly PDF version of the report.
The (floppy disk) save button has several export options as well that you might want to use: