
Onboarding Designer
Contents
- Onboarding Designer location
- Creating a New Onboarding Packet
- Onboarding Name Field
- Enabled? Checkbox
- Workflow and Employee Type Dropdowns
- Filter Criteria dropdown menus
- Exclude Criteria dropdown menus
- Emails and Notification Query
- Save
- Duplicate an Existing Onboarding Packet
- Delete
- Editing an Onboarding Packet
- Editing Onboarding Steps
- Editing a Step
- Editing the Start and Finish Step
- Display Message Window
- Employee Info, Emergency, and I9 Steps
- Forms
- eSign
- Document Category dropdown and Document Upload
The Onboarding Designer provides functionality for the user to design steps for the onboarding of employees. This feature allows the user to create a workflow of forms and electronic files for new hires or current employees transitioning between positions to complete prior to beginning his/her assignment.
Onboarding Designer location
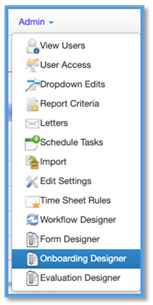
Users can locate the Onboarding Designer by logging into the admin portal and then clicking on Admin and then Onboarding Designer.
Creating a New Onboarding Packet
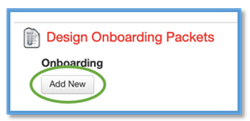
Once the user has located the onboarding designer section of Helios, he/she can add a new onboarding packet by clicking Add New.
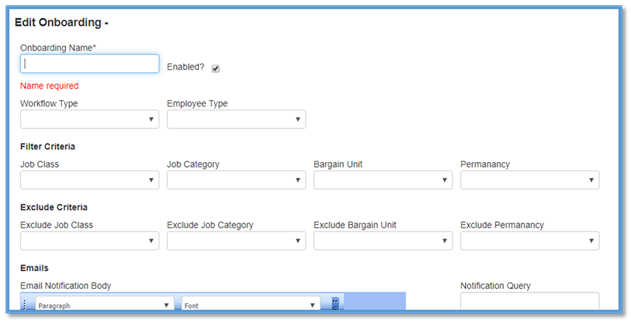
This will prompt the fields and dropdowns to the right to clear their values.
Onboarding Name Field
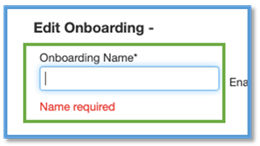
The only field that is required to save the new onboarding packet is the Onboarding Name field.
Enabled? Checkbox
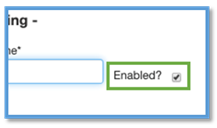
The Enabled checkbox allows the user to disable an onboarding packet until he/she is ready. Once the packet is ready for rollout, the user can toggle this checkbox and enable the packet.
Workflow and Employee Type Dropdowns
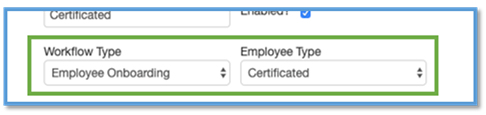
Although not required fields, a user may want to make a selection from the Workflow Type and Employee Type dropdown menus. Workflow Type determine which workflow will drive the associated onboarding packet and Employee Type
Filter Criteria dropdown menus
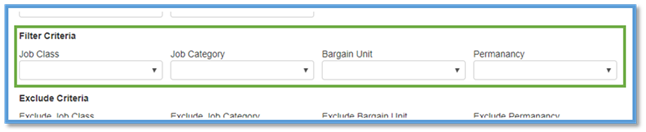
The Filter Criteria section of this screen allows the user to filter which group of onboarding employees will be the target audience for this onboarding workflow by making selection in the four dropdown menus. It is okay to leave these dropdown menus blank if you want this onboarding packet to apply to all job classes, job categories, bargaining units, and types of permanency.
Exclude Criteria dropdown menus
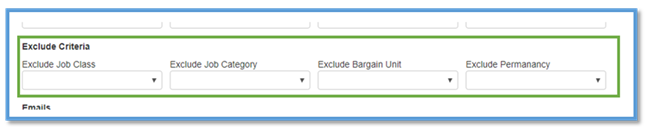
The Exclude Criteria section works similarly to the Filter Criteria section; however, instead of targeting a specific subset of employees to onboard this section eliminates employees from the entire pool of onboarding candidates from using this workflow in the onboarding process.
Emails and Notification Query
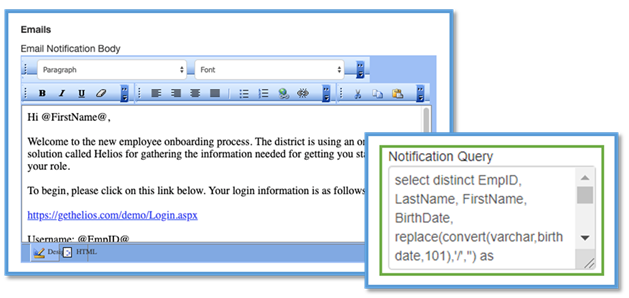
Users also have the ability to include a custom notification message an onboarding employee will receive via email at the beginning of the process. The user can use dynamic fields by enclosing them with @ symbols. If you need help with the Notification Query that allows you to use these dynamic fields, contact Helios at support@heliosed.com.
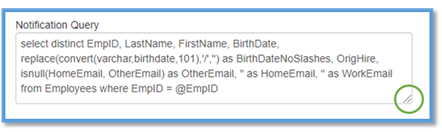
The Notification Query box can be resized at will by clicking and dragging the two horizontal lines in the bottom right-hand corner of the query box.
Save
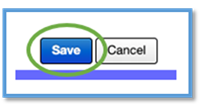
Once the user is satisfied with all of his/her selections, click Save as to not lose any of the work that has just been done.
Duplicate an Existing Onboarding Packet
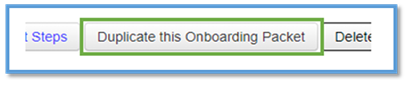
Be aware that once an onboarding packets has been saved it can be duplicated by choosing Duplicate this Onboarding Packet found at the bottom of the screen.

This feature creates a duplicate onboarding packet sharing the same name as the original with "- Copy" appended to the end of its name. This newly created packet can be easily edited to suit users' needs instead of creating a completely new packet from scratch.
Delete
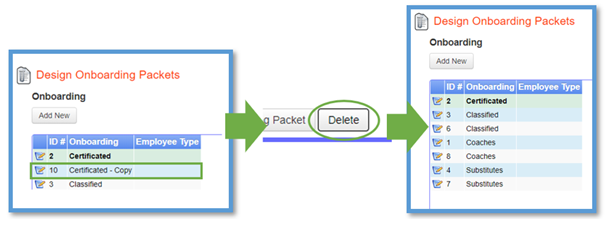
To delete a saved onboarding packet the user simply clicks selects the desired packet for deletion, clicks the Delete button, and the packet is permanently removed from the list.
Editing an Onboarding Packet
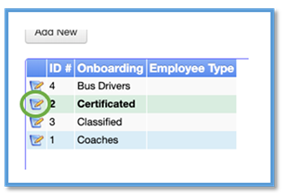
Whether returning to a new onboarding packet, duplicating an existing packet to tweak a copy of, or just wanting to edit an existing packet the first step is , find the packet you want to edit, and then click the edit icon next to it (the icon looks like a pencil writing on a notepad).

Then click the Edit Step button to edit the steps of the selected packet.
Editing Onboarding Steps
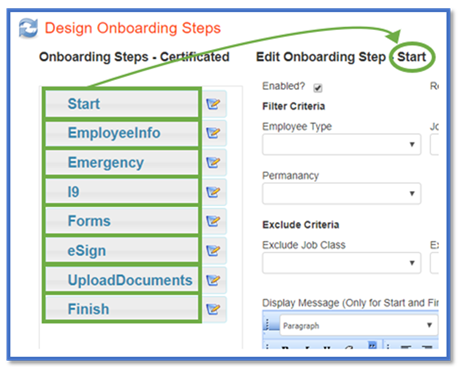
For each step in the onboarding packet, there is a Name that the employees will see, and then a corresponding Step that goes with the name. Follow this order for the onboarding steps as seen in the image above.
![]() Start
Start
![]() EmployeeInfo
EmployeeInfo
![]() Emergency
Emergency
![]() I-9
I-9
![]() Forms
Forms
![]() eSign
eSign
![]() UploadDocuments
UploadDocuments
![]() Finish
Finish
Editing a Step
The default screen loaded is associated to the first step in the list, Start. This screen holds the onboarding details corresponding with this step. To edit any of the subsequent steps instead, click the edit icon next to it (the icon looks like a pencil writing on a notepad).
Editing the Start and Finish Step
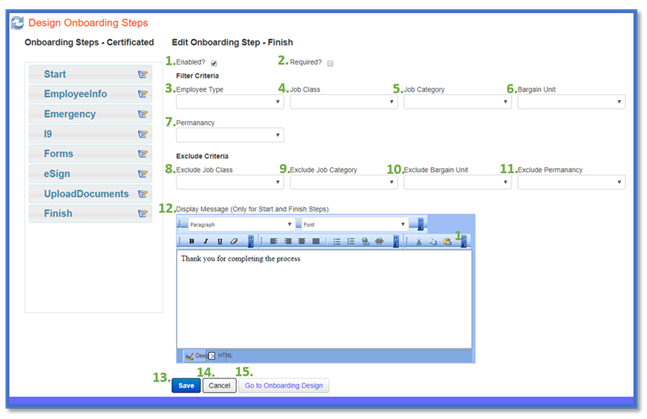
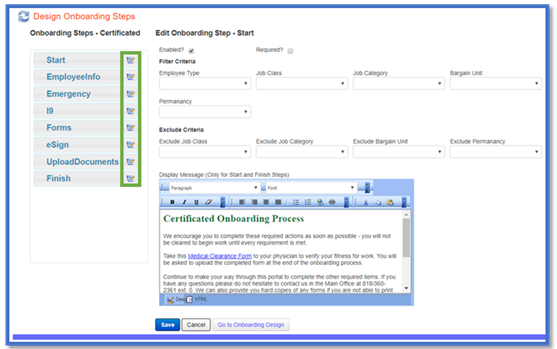
The Start and Finish steps ( Finish seen above) of the process have identical Edit Onboarding Step screens; the editable fields and windows of the screen above are the same as those found on the screen shot found in the Edit Onboarding Steps section. Now let's go over each item and its function.
1. Editable Checkbox - enables (checked) or disables (unchecked) this step
2. Required Checkbox - inapplicable for these steps
3. Employee Type Dropdown - filters which employee type is able to view this step
4. Job Class Dropdown - filters which job class is able to view this step
5. Job Category Dropdown - filters which job category is able to view this step
6. Bargain Unit Dropdown - filters which bargain unit classification is able to view this step
7. Permanency Dropdown - filters which permanency classification is able to view this step
8. Exclude Job Class Dropdown - excludes a single job class criterion
9. Exclude Job Category Dropdown - excludes a single job class criterion
10. Exclude Bargain Unit Dropdown - excludes a single job class criterion
11. Exclude Permanency Dropdown - excludes a single job class criterion
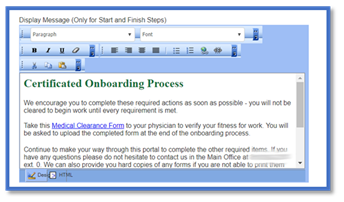
For the Start and Finish steps, be sure to include a Display Message for employees to see. This section of the screen contains an imbedded HTML driven word processor which allows many of the basic feature associated with such a tool. This provides the designer with some customization options to make the first and last message of the onboarding process truly his/her own.
13. Save - locks in any changes made to the screen
14. Cancel - clears any changes made to the screen after the last save
15. Go to Onboarding Design - redirects the user back to the main onboarding designer screen. NOTE: In order to prevent loss of work, make sure to save before clicking this button.
EmployeeInfo, Emergency, and I9 Steps
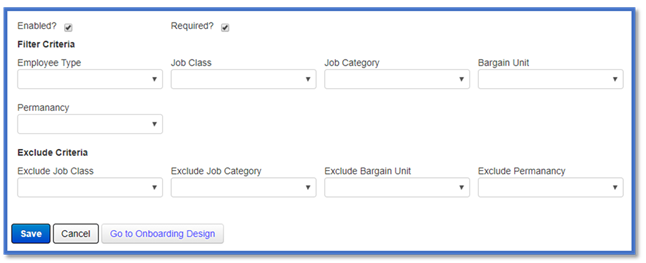
All three of these steps have identical screens and options to be filled out by the designer. Filter Criteria and Exclude Criteria sections contain the exact same functionality here as they do on the other screens of the Onboarding Designer.
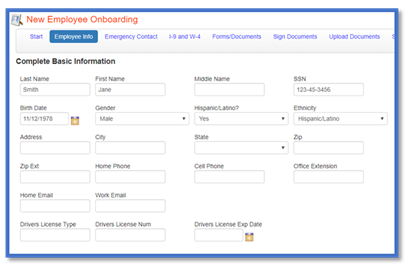
Employee Info Screen
See below for an example of what the EmployeeInfo onboarding screen looks like.
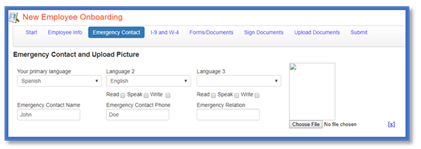
Emergency
See below for an example of what the Emergency onboarding screen looks like.
I9
See below for an example of what the I9 onboarding screen looks like.

Forms
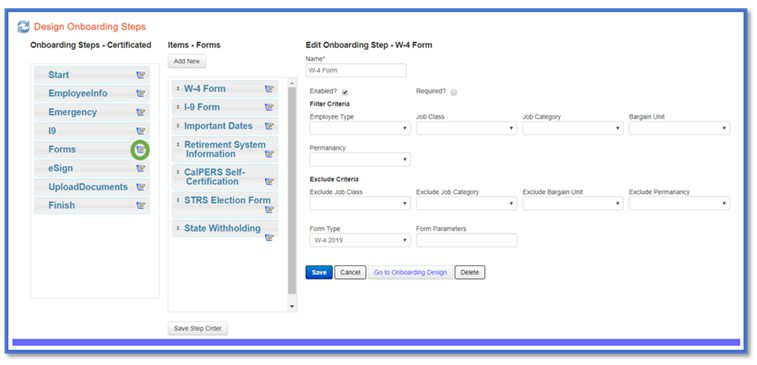
The Forms portion of the Onboarding Designer enables the designer to add new forms or edit previously created forms for onboarding employees to fill out. Just like previously mentioned screens, this screen has many of the same fields and features enabling a wide range of customization.
Adding and Deleting a Form
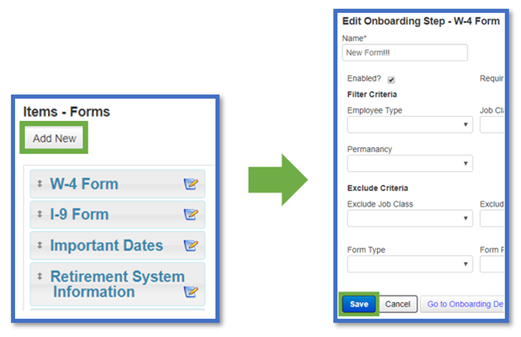
From the Items - Forms menu click theAdd New button. This will clear the Edit Onboarding Step section allowing the user to enter in the information and details pertaining to the new form. Once satisfied with the information entered and the selections made, click the Save button to create the new form step.
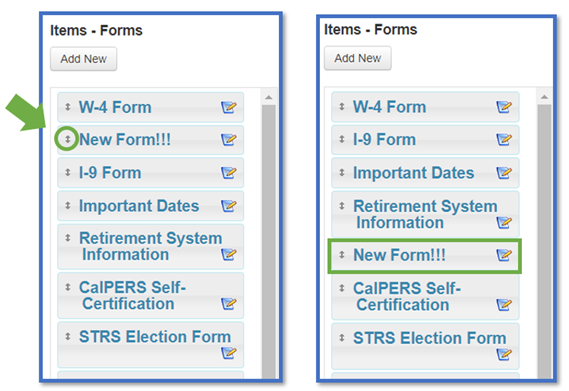
The new step will be added to the Items - Forms menu list as seen above. To change the order at which the new form appears in the list, simply click, hold, and drag it to the desired location.

Be sure to click Save Step Order so that the changes get
locked in. If not clicked the order will not be saved.
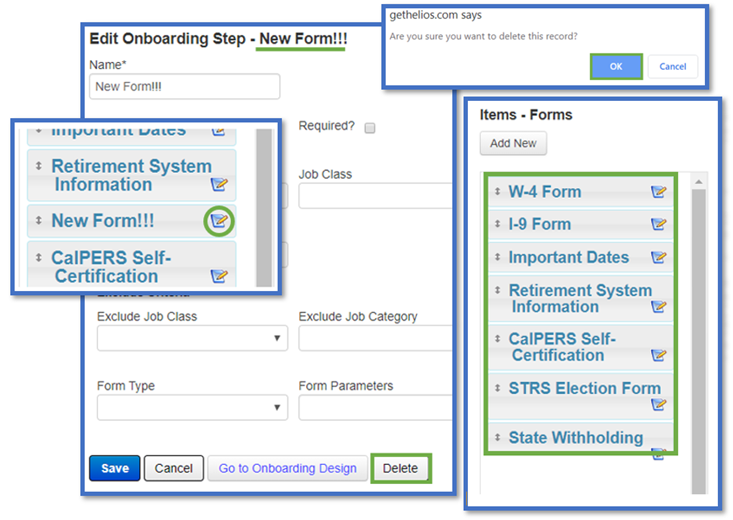
To delete a form item, click the little notepad and pencil next to the corresponding form. This will bring up this form's details on the screen. Make sure to verify you have selected the correct form. Click the
Delete button. A pop-up will appear on the screen verifying that you are absolutely sure you want to delete the form. Once it's gone, its gone! Click the OK button on the pop-up and the form will be removed from the Items - Forms as seen above.
Editing a Form
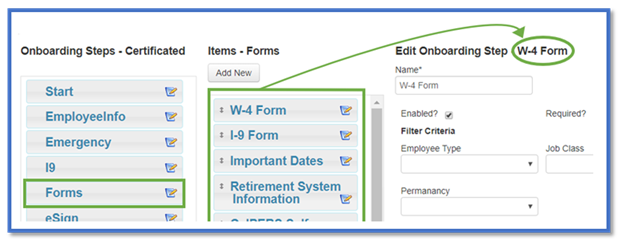
To edit a form, select an item from the Items - Forms menu to choose which form to edit. This will either be a pre-built form or a partner specific form designed in the Form Designer.
NOTE: PDF documents to be read and acknowledged by an employee can be added in the eSign step, which will be covered in a later section.
This portion of the designer adds only one new field. Filter Criteria and Exclude Criteria sections contain the exact same functionality here as they do on the other screens of the Onboarding Designer.
Form Type
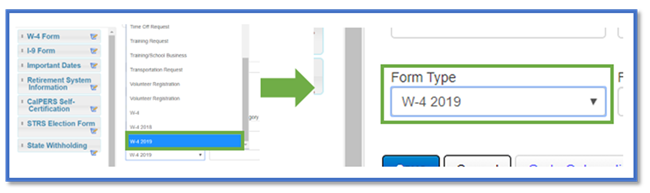
Select the corresponding form from the Form Type dropdown for the designated form item.
NOTE: Always remember to click the Save button in order to commit changes so work is not lost.
eSign
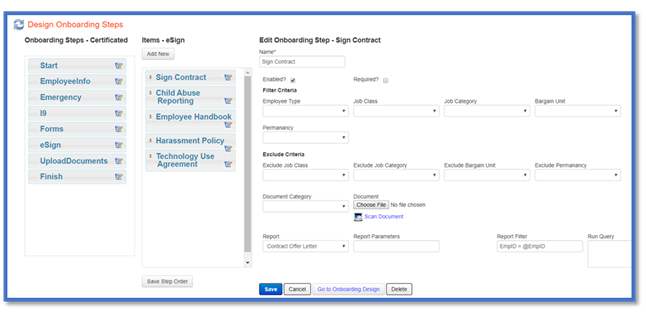
Like all of the previous sections in this guide, the designer of the onboarding packet will notice the repetition of the application creating a user-friendly experience when editing the onboarding guide.
Enabled , Filter Criteria , and Exclude Criteria sections contain the exact same functionality here as they do on the other screens of the Onboarding Designer.
Document Category dropdown and Document Upload
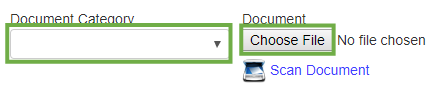
Select a Document Category from the dropdown menu. This chosen category should best describe the document you will be uploading for an employee to eSign. By choosing the appropriate category, it will be easy to locate these types of documents within other aspects of the application.
After the category has been selected, click on the Choose File.
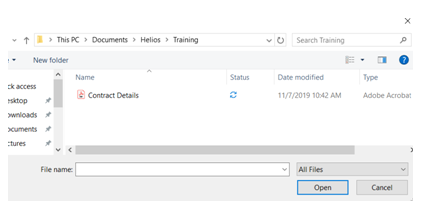
A file explorer pop-up window will appear, allowing easy navigation to the desired file to be uploaded.
