
Evaluation Designer
Contents
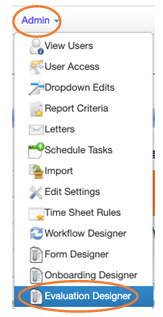
Once you're logged into the admin side of Helios, from the top menu bar, navigate to Admin and then Evaluation Designer
Creating a new evaluation design
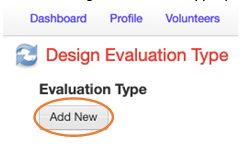
On the Design Evaluation Type page, click the Add New button
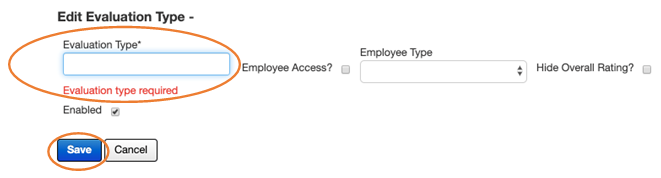
The only required field is the Evaluation Type. With the Employee Access? checkbox, you can make the form available to employees through the employee self-service portal, and with Employee Type, you can restrict the form to certain employee types. Check Hide Overall Rating? If you want to hide the overall rating from the employee being evaluated.
Once done, click the Save button to save the evaluation details.
Designing the Evaluation
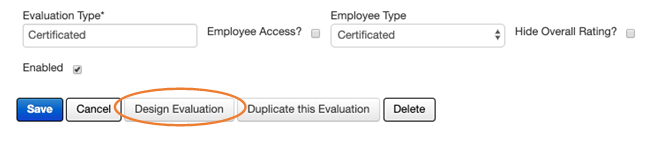
Then click the Design Evaluation button to start designing the evaluation form.
To start adding fields on the Design Forms page, click the Add Field button.
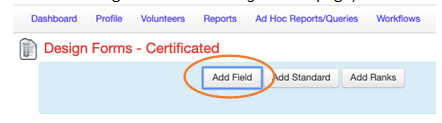
A dialog box will show up to allow you to enter what kind of field you want.

Enter the Field Type which gives you many options to select from:
Enter the Field Name. You can set other options such as Required?, Width, Height, Read Only?, and Header Only? Group Name is used to group fields like radio buttons together-having the same group name for a set of radio buttons allows them to be grouped together and user can only select one option from that group.
Finally, click the Add and Close button. Clicking the Remove Field button removes the field from the form.
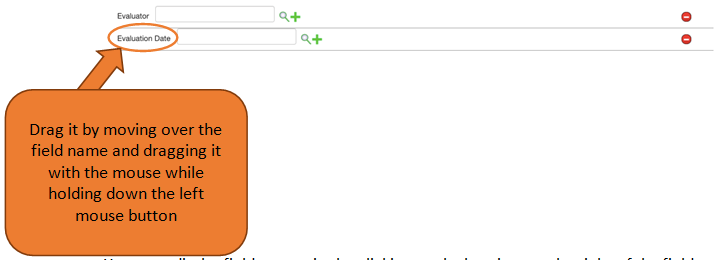
After the field is added, you can drag it up and down on the form to place it where you want it. To drag the field, click on its name handle and drag it with the mouse.
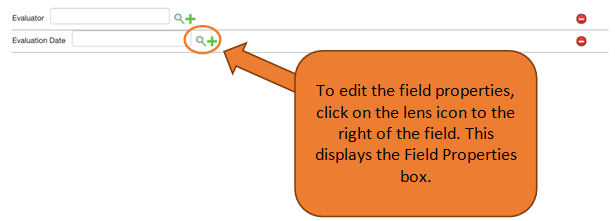
You can edit the field properties by clicking on the lens icon to the right of the field.
You can delete the field by clicking the do not enter sign to the right of the field.

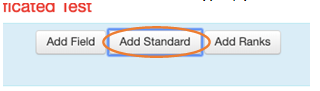
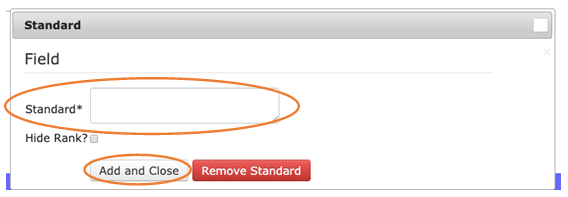
In addition to various field types, you can also add standards by clicking Add Standard.
Type in the name of the Standard (you have the option to hide the rank from the employee being reviewed), and then click Add and Close to add the standard to the evaluation form and then close the add standard dialogue box.
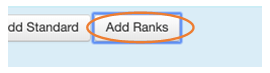
To add ranks for the standard, click Add Ranks.
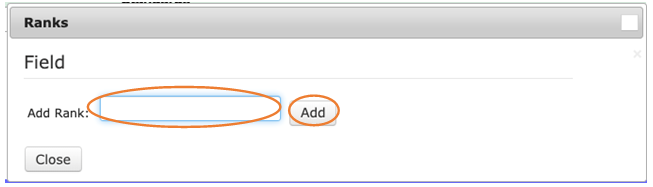
Type in a descriptor for the rank in the Add Rank: field. Then click Add to add the rank.
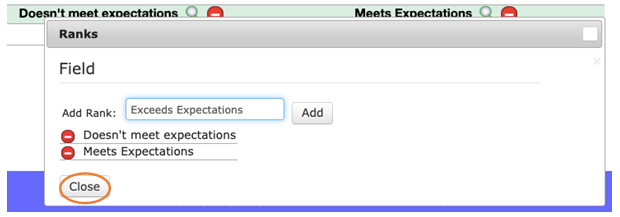
You'll see each new rank added below. You can keep adding new ranks, drag the ranks up or down to rearrange their order, or click the do not enter sign next to a newly created rank to delete it.
Once you're done creating ranks for the standard, click Close.
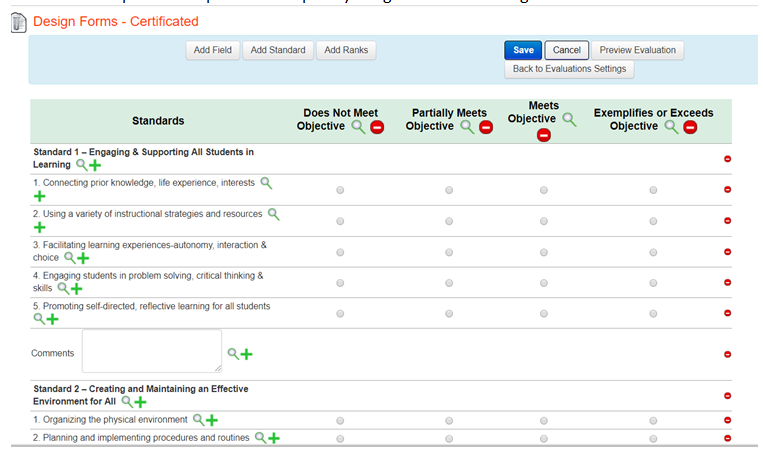
Here's an example of what part of a completely designed evaluation might look like:
Saving and previewing the evaluation design
After you are finished adding to the evaluation form all of the fields, standards, and ranks; click the Save button to save the form.
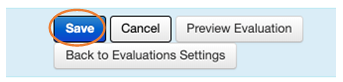
After you have saved the evaluation form, click Preview Evaluation to preview what it will look like for people filling it out.
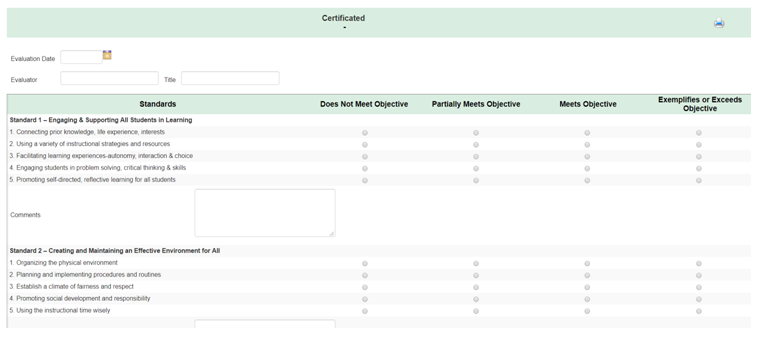
Here's an example of what a preview for a completely designed evaluation might look like:
For more details on how to assign, fill out, and view filled out evaluations, take a look at Evaluations (Assigning, Filling Out, Viewing).